
I’ve been studying and implementing branding strategies for quite a long time now. Over the years I’ve learned something: No matter how perfectly polished your graphic design elements are for your brand (logo, patterns, fonts, marks, etc.), if you leave out imagery, you are missing the mark. You can have the prettiest graphically designed brand in all the land, but if the images surrounding your brand fall short, you’ll be scratching your head wondering why your brand isn’t gaining traction online. That’s why today I want to talk to you about why I supplement my brand and blog imagery by taking my own photos (when needed!) and give you a peek into my camera bag and why I use the gear that I do!
Now don’t get me wrong. I don’t take allllll my images for my brand. Quite the opposite. I hire professional photographers often and use commercial quality styled stock photography to get the best quality for my brand. If you stay around here awhile, you’ll see the likes of some of my dear friends and fave photographers like Sarahdipity Photos, Laura Foote Photography, and Shay Cochrane of the SC Stockshop. These professional photographers have helped me tremendously in the growth of my brand and in connecting with my ideal customers.
But as much as I love having them do their thang, I don’t have them at my beck and call 24/7! It isn’t feasible to always bring a pro in.
For example: I recently did a blog post on the 6 Lessons Chick Fil A Taught Me About Business. That post was a lot of fun to write because this gal looooooves Chick Fil A. I could have used imagery from my expansive gallery of professionally captured images, but the post was about Chick Fil A… And I haven’t done a pro shoot in Chick Fil A… yet. 😉 So I wanted a few images with my all time favorite breakfast food, Chicken Minis.
For every blog post I write, I average about 3-4 images sprinkled in to help visually convey the message. Most photographers work on an hourly rate for this type of work, and it isn’t feasible to spend upwards of $300 for a single blog post… about chicken minis. Especially since I aim to write one to two blog posts a week. That adds up quickly.
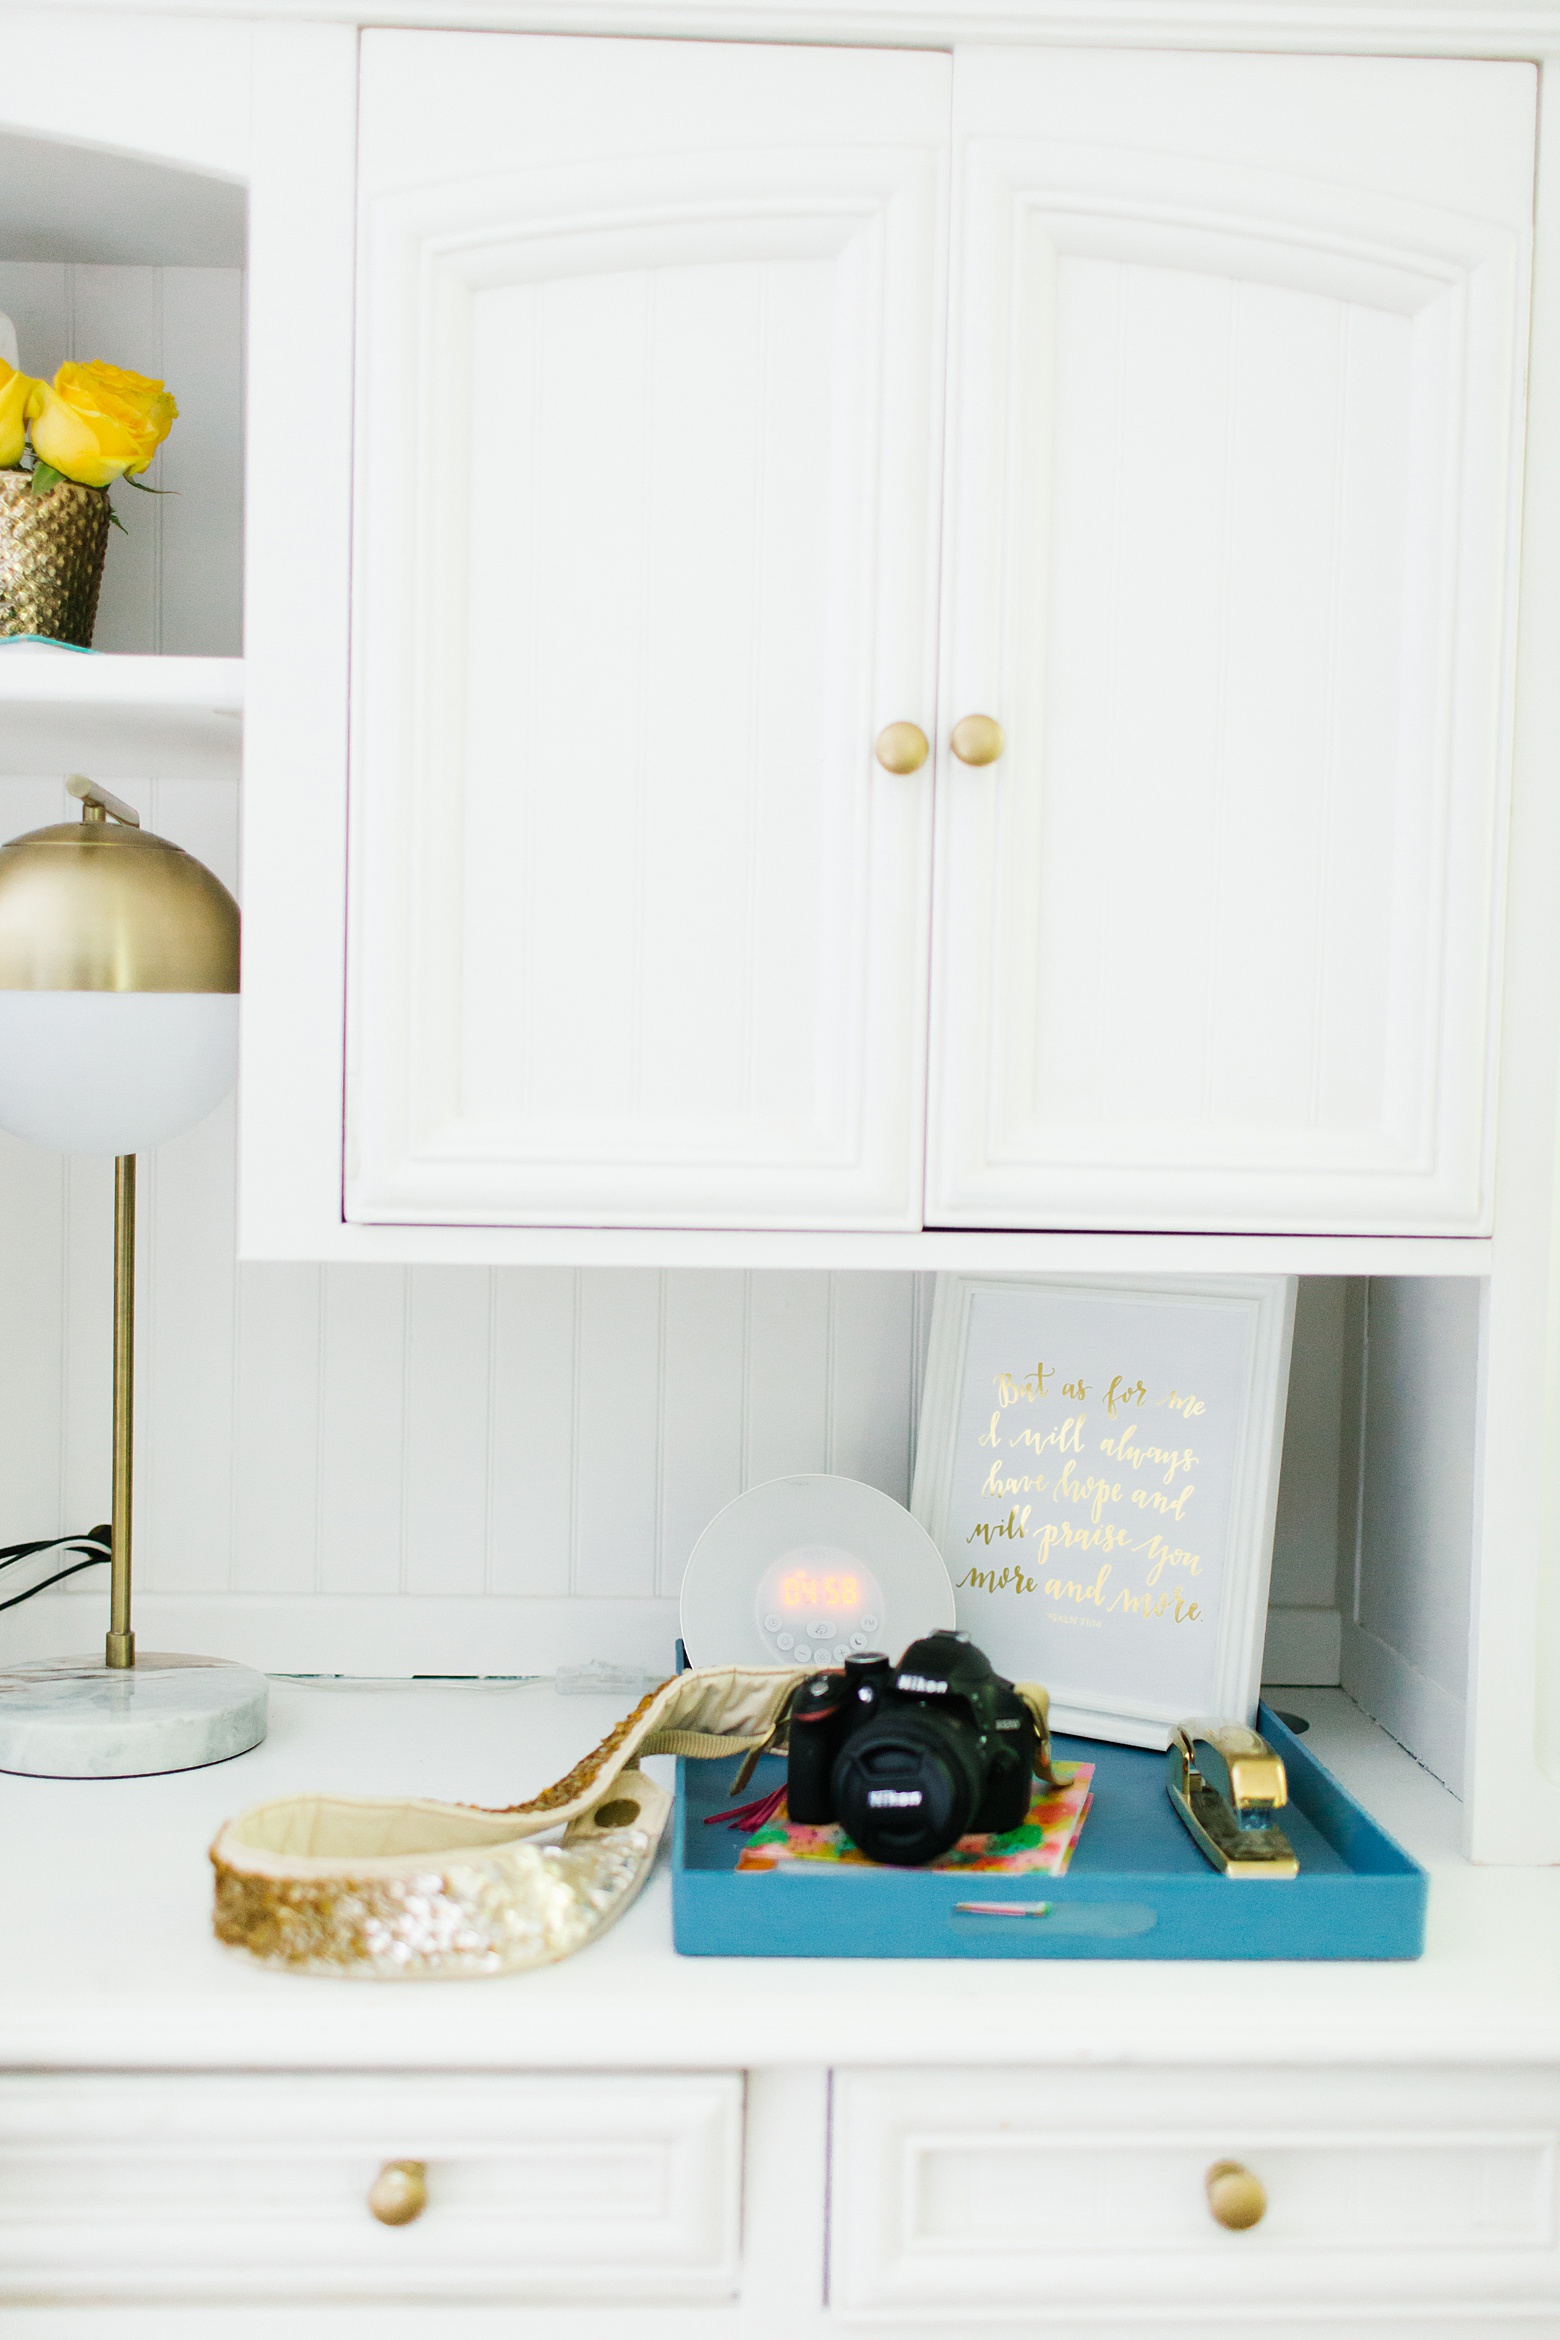
So I got a DSLR. Well actually, it was a Christmas present before Kennedy was born. Thanks, Gigi and Poppy!!
When I say DSLR, I’m talking verrrrry entry level. I don’t have the fancy kind of camera body that professionals do. But I’ve found with a bit of learning and practice, you don’t need a pro DSLR if you are on the amateur level. In fact, many photographers I know started their careers on an entry level body and moved up when the time was right!
My camera is a Nikon D3200.
You can still take beautifully light and bright images on an entry-level DSLR. You just need to know how to use your camera.
From the get-go I had a goal to learn how to use my camera in manual mode because I didn’t want the images I captured to be so drastically different from the professional shots I built my brand around. They would just stick out like a sore thumb!
So I turned to the one place I knew would help me find the resources I needed to learn: Pinterest. Gosh, I love that place!
I read and read and learned the general concepts of shooting in manual mode just well enough to get me started.
Captured by Sarahdipity Photos
And then I practiced, practiced, and practiced. It wasn’t hard to practice since Kennedy was a baby and I wanted to take pictures of her 24/7!
But I quickly realized that even though I understood the exposure trio of shooting in manual mode (aperture, shutter speed, and ISO – but don’t freak… we will get there!), and tried my darndest to get that light, airy, and effortless look, something wasn’t clicking. Pun intended.
Like many entry-level DSLRs, my camera came in a kit. The kit included a couple different lens options and some other stuff that I have no idea what to do with. 😉
I went back to the good ole internet and started researching what I needed to do to create the kind of images I was hoping to produce.
The result? Shooting isn’t as much about the camera as it is about the lens.
Entry level kit lenses just don’t cut it.
I wanted to produce images that had that pretty blurred effect in the background (or foreground) and my kit lenses weren’t made for that purpose.
Gotttttcha.
Did some more digging and found that many bloggers and photographers alike love to use what are called prime lenses. Prime = fixed focal length. Aka you can’t zoom in and out with your camera. You have to physically move if you need to get closer or further away.
One of the most popular prime lenses is called the Nifty Fifty. It is a 50mm lens that creates the most stunning bokeh (aka that pretty blurred look around your subject!).
I dived in and purchased a 50mm and was AMAZED at the images I could create. The 50mm is indeed quite nifty! At an investment of around $200, it was totally worth it!
I used the 50mm for a couple years before getting my next lens. While the 50mm creates magical images, it is really best suited for portrait photography and close up details. Meaning I could shoot a beautiful image of my daughter alone or a small corner of my house here and there, but if you want to get a group of people or a whole room in the full picture you have to be suuuuuuuper far away. And you lose sharpness in your image.
I turned to my trusty friend Lauren Carnes who suggested I add a 35mm to my camera bag. She ensured it would be much easier for me to shoot rooms in my house and groups of people with a lot more clarity.
Yes, mam!
The 35mm was just under a $200 investment, so I scooped one up with my Amazon Prime Membership.
I got it 2 days later and immediately tried her on my camera.
Again, I was blown away by the images she produced! I could get an entire room in my frame without being 85 feet away and she still produced that light airy look that I love!
The 35mm doesn’t give you as much bokeh as a 50mm does, but the reason I got it was to get more detail in my frames sharply. Mission accomplished.
These days, my 35mm stays on my camera body and I have my nifty fifty nearby in my camera bag. The 35mm captures details both closer up and further away beautifully, and it isn’t often that I am shooting just one person or a smaller detail. But when I do, I pull the 50 out!
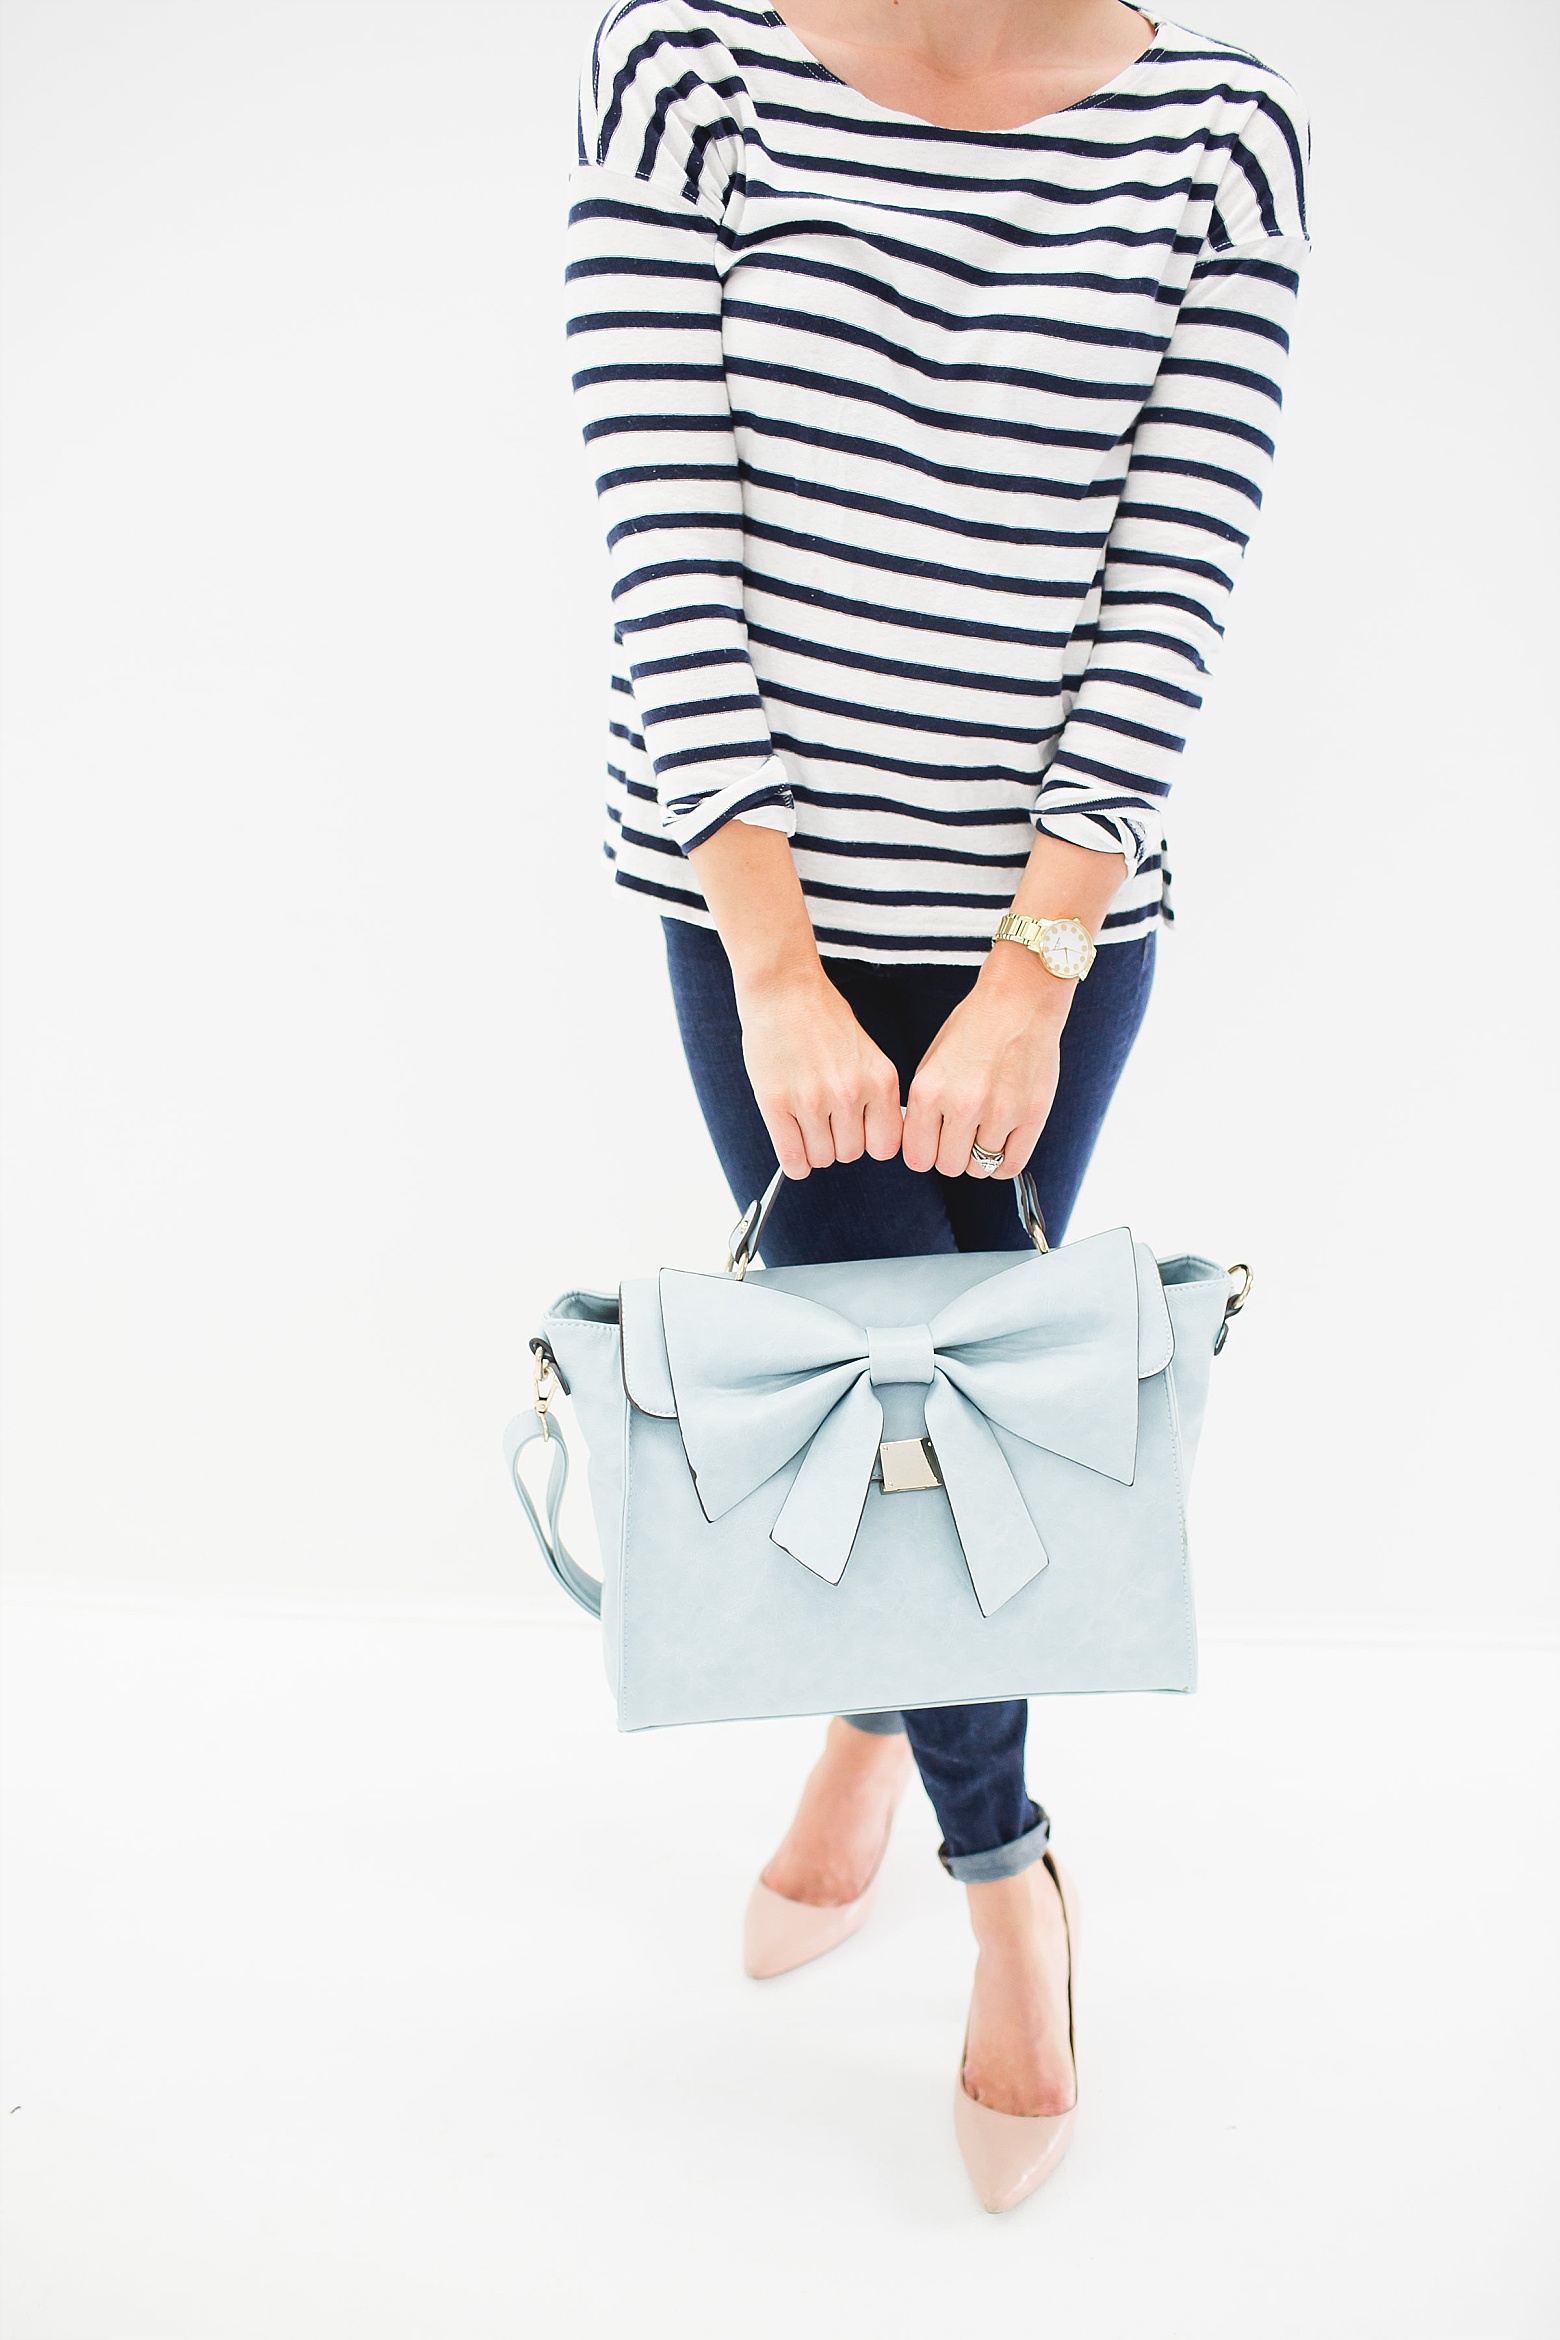
This pretty blue bow bag is a Bloom Theory Camera Bag! I LOVE it! Captured by Laura Foote.
With my entry level DSLR camera body, 50mm lens, and 35mm lens, I can capture and create images that can stand by my favorite professional photographs and that is a WIN!
But I wouldn’t be a very honest teacher if I didn’t share that there are a couple more important steps in the photography process.
I also edit my images to really shine.
Again, I am no pro, but I do know quite a few professional photographers! And quite a few that openly teach their processes so us newbies can learn how to master the art.
One photographer who really has a knack for breaking it all down is Jordan Brittley. She teaches amateurs and pros alike how to edit images and streamline the process.
Believe me, if you don’t have the right tools and know how, it is a procccceeeessss. And will literally keep you from shooting. I’ve been there!
These days I edit in Adobe Lightroom because it is the bomb dot com at making the editing process lightning fast.
And with Jordan’s wealth of help on her blog, I was able to master it in about an hour or so!
Here are my fave posts of Jordan’s to get you going in Lightroom and shooting in Manual Mode:
- Introduction to Lightroom
- Get started with Lightroom Editing – This is a jam-packed post to walk you through Lightroom from start to finish (including culling and using presets) and includes her Free Light and Airy Presets collection download!
- How to Take Brighter Photos – In this post, Jordan shares how she gets her signature bright look and talks you through how to shoot in Manual Mode!
I use Jordan’s free Light and Airy Presets for my own image editing and LOVE how easy she’s made it to get the bright look I want with just one click of a button (seriously!).
You know I love taking me some quick and easy iPhone images (and you can certainly make them look stunning with a few quick tricks!), but if you’re ready to get serious about your blogging efforts, I can’t recommend getting a DSLR, learning how to shoot in manual, and using Lightroom to quickly enhance your images enough.
Your brand will thank you for it!
Related: How to Take and Edit Better iPhone Images
PS: I have no weigh in on the Nikon vs Canon debate. I was pretty darn grateful for such a wonderful gift, that I’ve never taken the time to really research why people choose one brand over the other. Many of my pro friends shoot with a Canon, but my Nikon seems to do what I need it to! I’ve heard the best thing to do if you can’t decide is to go try holding both options in a retail store (or rent one!) to see which one feels more natural for you to work with!

Oh my gosh thank you so much for sharing all of this. I’m in the photo struggle bus right now and have been reading as much as possible to figure out what to do. This is so helpful!! Love it!! Also, love that sparkly strap on your camera! – Stephanie | http://www.theborrowedbabes.com