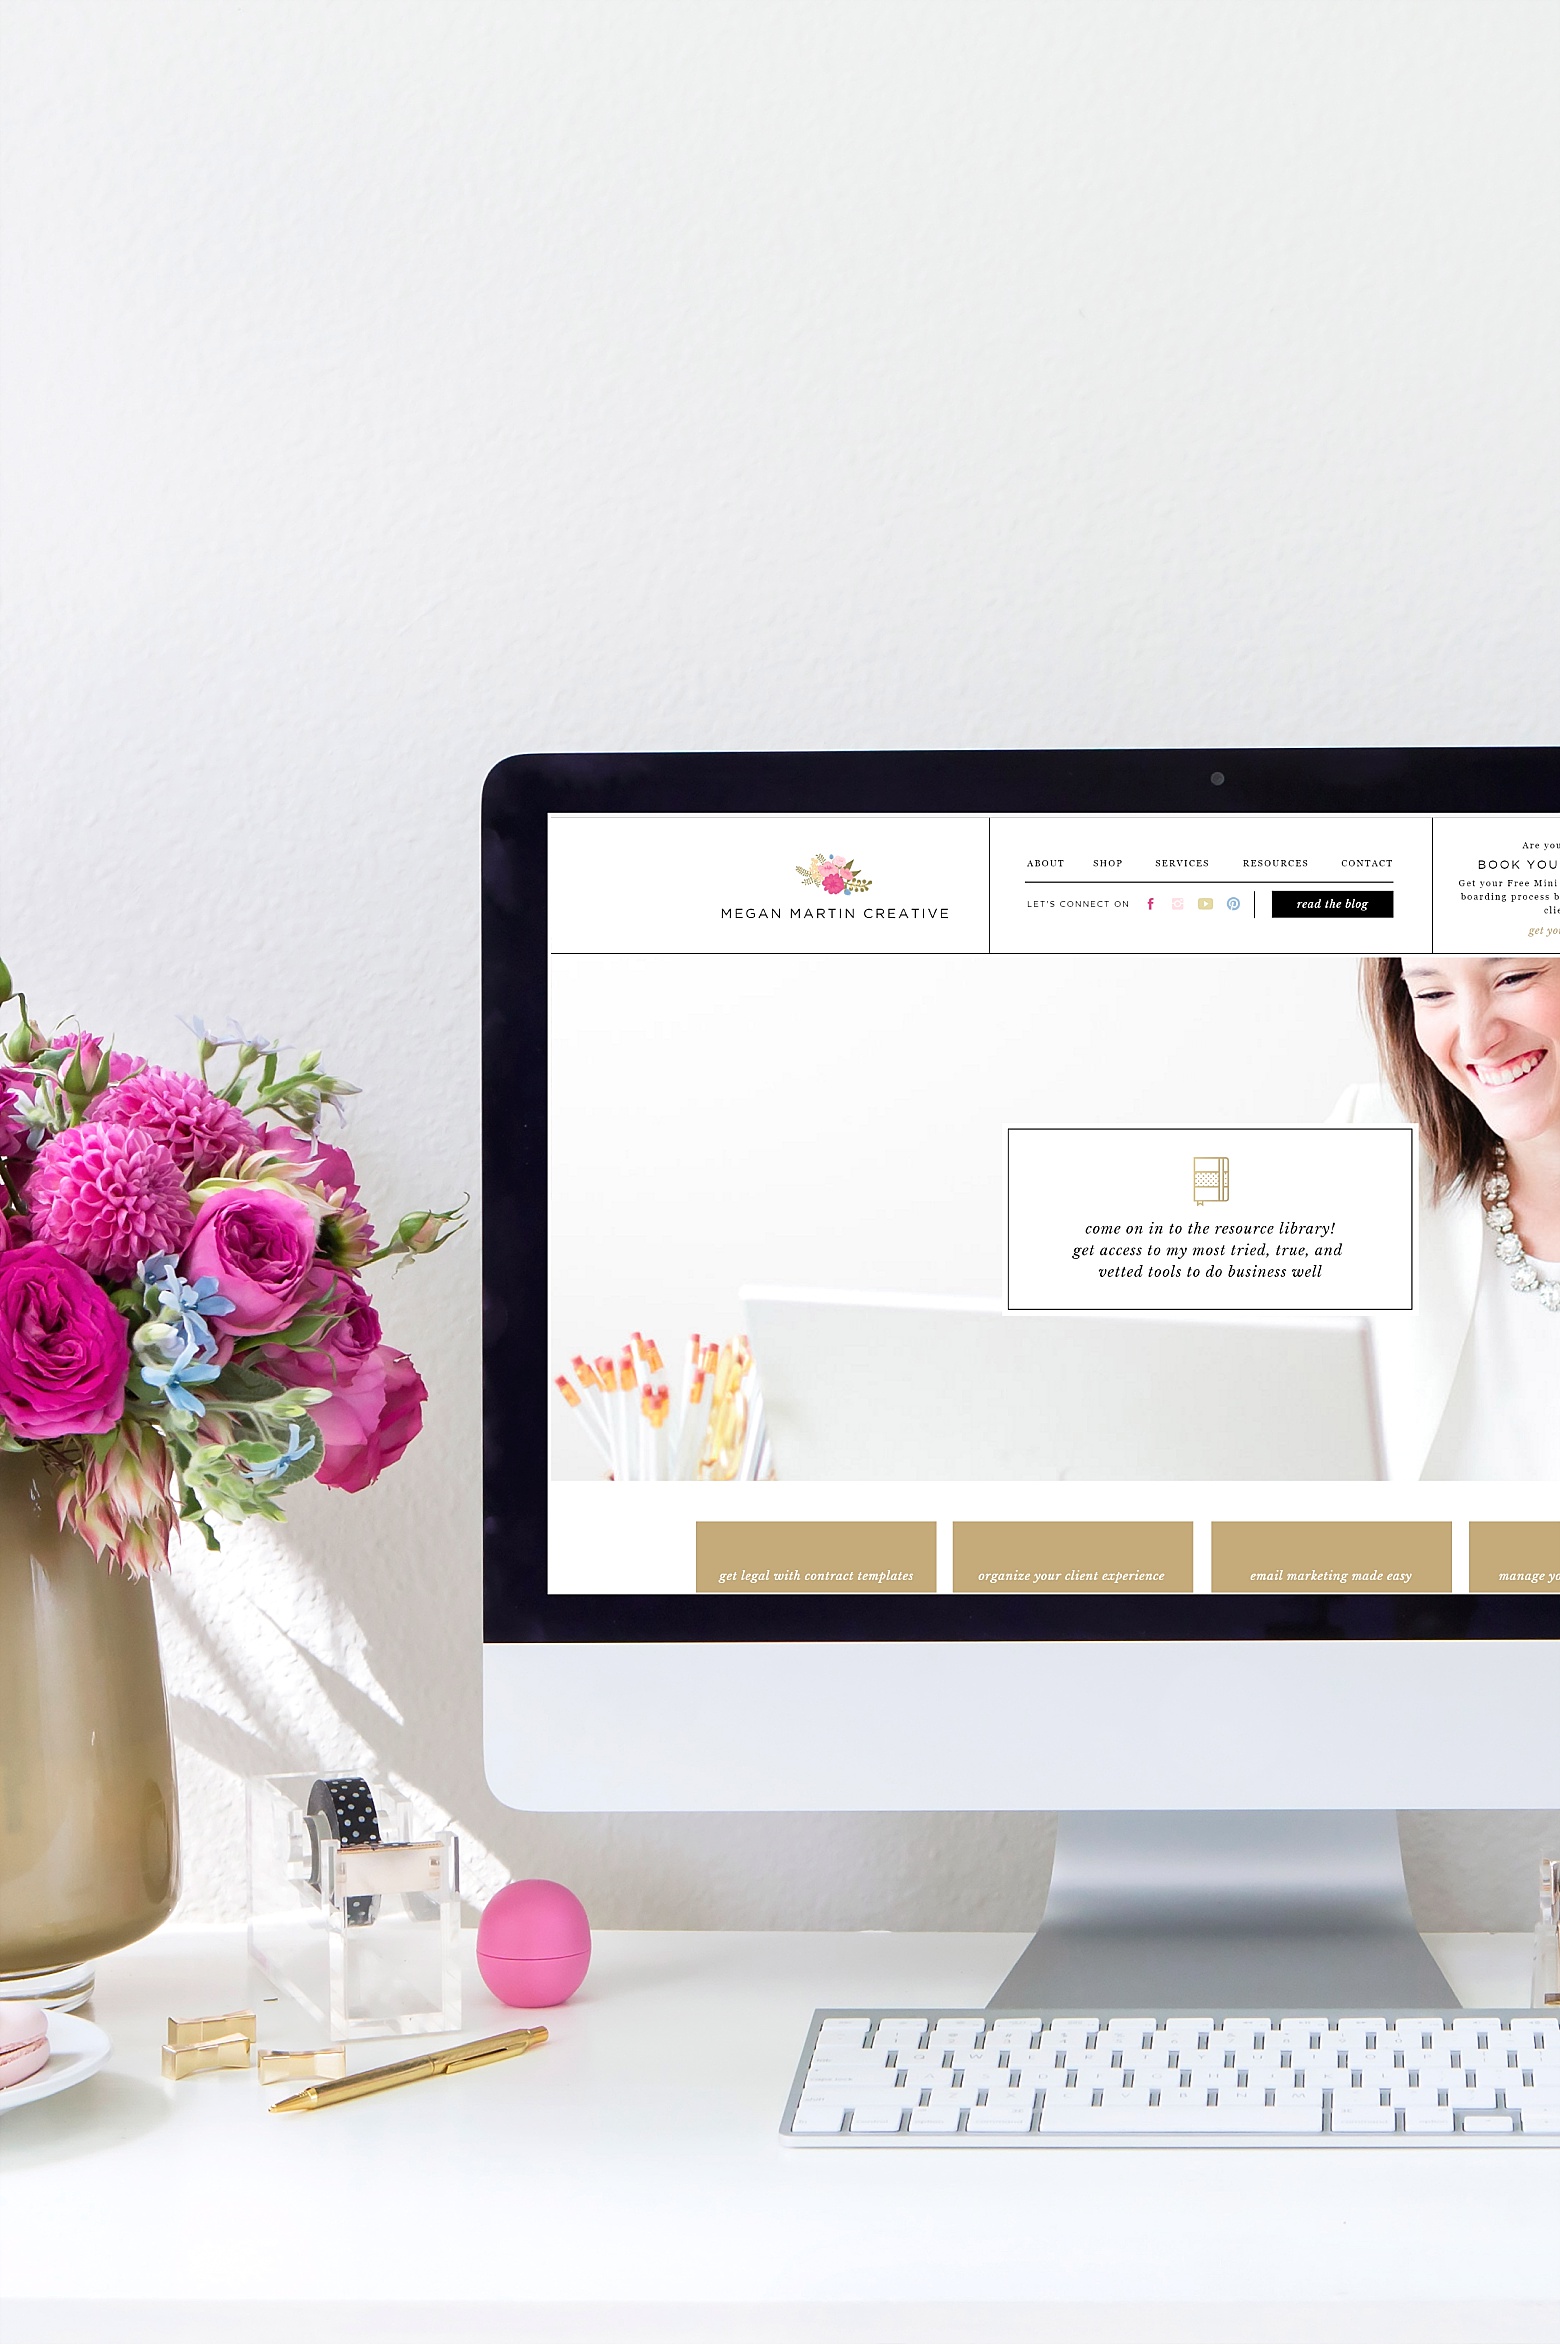
When I was behind the scenes designing my Showit 5 website, I shared a few peeks of the various lists I tackled along the way to make the new website design come to life on Instagram Stories. At the time, one of my sweet followers asked how I organized the process, so I promised her a blog post… and here it is!
Ask and you shall receive. 😉
My website is quite the beast, ha! When I set out to design and build this new site, I knew it was going to be quite an in-depth project.
I had already gone through 4 websites in 6 years, so I had a “let’s do it all” mindset. After 4 websites for this business alone and a whole lot of websites designed for other creatives in my brand design days, I had a pretty vast collection of ideas and wants for this new site.
Related: Why I switched from a WordPress Website to Showit 5
I wanted to hit all the high marks and be done with it for the long haul!

Seven Steps to Organize and Complete your new website
Step one: create a master list of pages
I set out to make it happen and started the same way I start everything in my business: on paper.
That’s right.
I’m an old person. And I’m a-okay with that.
Create a master list of pages that needed to be included in your website. Along with my Home Page, Main Blog Feed, and Single Blog Post Pages, I had 10 interior static pages to design (i.e. About, Resources, Services, and etc.).
Step two: start with the homepage
Some of my best work happens with paper and pen. Even though I am a graphic designer, I imagine and visualize concepts best by drawing them out.
When it comes to website design, the homepage drives the design direction for the rest of the site.

So I always suggest starting at the home page first.
Beginning with the header (where your logo and navigation links live), draw out a very rough draft of what you would like to see. Then draw out the blocks of content you want to create for the actual bulk of the home page and end with drafting out what content you want to see in your website’s footer.
Step three: draw out the rest of your pages
Once you nail down a good direction for the home page, drawing out the rest of the page design concepts will flow much quicker.
I like to rough draw out all of my page concepts so I can visually organize all of my ideas for each web page.
Step four: list it all out and take it to the screen
After you have a rough draft for each page, I suggest taking the step of turning your visual concepts into lists.
For each page, list out in detail what you need to accomplish.
If you study goal setting, you know that breaking down high-level goals into very small and actionable steps is crucial.
It isn’t enough to just create a list that includes high-level task items like, “Design About Page.” You’ll be twiddling your hair for months looking at Design About Page and never have a finished About Page.
But if you take the time to break out each and every task that will come along with your goal, you’ll be much more likely to tackle one baby step at a time. And those baby steps of completed progress are the mojo secret sauce to personal motivation.
So instead of “Design About Page” on my list, my About Page task list looked a little more like this:
- Select and Reduce File Size for Sidebar Headshot
- Draft Sidebar Copy Chunks (3)
- Draft “Hi, I’m Megan” Copy
- Select 6 Press Features for “Oh, The Places I’ve Been” section
- Select and Reduce File Size for “Oh, The Places I’ve Been” section
- Select and Reduce File Size for “My Whole Heart” Image Gallery
- Email Biz Besties for Testimonials section
- Select Background Image and Reduce File Size for Testimonials section
- Design Phase
- Design Sidebar Background Area and Headshot Image holder
- Design Sidebar Icons for CTA Copy Chunks
- Format sidebar copy and icons
- Format “Hi I’m Megan” copy section
- Format “Oh, the places I’ve Been” section
- Link all Press Features
- Format “My Whole Heart Section”
- Format Testimonials section with testimonials received and link to bestie websites
- Optimize page for SEO with About Title and Meta Description
- Set About Page featured image (this is a back-end task that isn’t actually seen!)
- Format Page for Mobile Use
It took me all of 4 minutes to select a headshot and reduce the file size for web use. But once that task was crossed off, I was that much more excited and ready to tackle step two. And my About Page (and its mobile version!) was done in an afternoon.
Better than months, right?! 😉
Tip 1: I would suggest using a project management tool like Trello to list out all your pages and page task lists in one dedicated Website Design Board. This tool will come in handy as your tasks lists start to dwindle so you can easily compile final tasks into one master list to get to the finish line!
Tip 2: Don’t forget to make a list for the stuff you can’t see on the front end. Aka your site’s SEO settings, plugging in Google Analytics, formatting your Favicon, formatting your Permalinks, and etc. Although not as sexy as a fancy website you can actually see, these steps are critical to the lifeline of your site!

Step five: rinse and repeat
Repeat step 4 until each and every page and section of your site is complete.
Try your darndest not to bounce around from to page to page in the design phase. Get a page done and then move on.
If you absolutely cannot finish a page due to variables you can’t control, move whatever tasks are hanging on that page to a master list of final to-dos and move on to the next page.
For example: In the design process, I realized I needed help with my website copy. I knew the general idea of what I wanted to say but needed to bring in a pro to edit my copy drafts and connect all the dots in ways I wasn’t able to see. So I brought in my dear friend Lauren Carnes.
As Lauren was BTS jujing my copy, I was knee deep in crossing more items off my to-do list. When I would hit a design pause due to needing her eyes and help ina section, I simply moved that task to my final master list of tasks and let it go. It was well worth the small amount of bouncing around to have her onboard!
Related: Read Lauren’s Expert Guest Post on The Most Important Thing in the Website Design Process
Step six: Plan your launch strategy
Once you get through step four and five and have the majority of your tasks dwindled to a master list, it is time to get serious about a launch strategy.
You may already have had a tentative launch date set in your mind, but now that you are down to the final touches, pick a hard date for launching your brand new digs.
Design graphics to build up the buzz, plan your pre-launch buzz building post calendar, and list out any specific items you need to complete to have a bangin’ launch.
Related: Read Launching BIG in Small Business
In terms of picking a hard date, look at the calendar and pick the date you want and mark it as “All Tasks Done”… And then 4-5 days after that write in “Launch Day.” That’s your hard date.
Why?
Finishing a site is no joke. Last minute unforeseen issues can pop up at the worst time and wreak havoc on your perfectly planned launch strategy.
Give yourself some wiggle room between the day you will commit to having every inch of the site complete and your actual launch date.
Trust me here. You will miss things. Your email newsletter forms won’t be connected properly (seriously, that happened to me this time!).
The more time you give yourself for a very detailed comb-over, the better. Get your biz besties to comb it over with you. They will absolutely catch the things you won’t since you’ve been staring at the site for so long.

Step seven: Launch it good!
On launch day, block out your morning to be available for any emails or comments of site hiccups you still may have missed in the comb-over phase (it happens to me every time!).
And when that block is over, GO CELEBRATE!
Do whatever it is you fancy, but just do it!
No matter what the traffic counts are. No matter whether or not you get the hype you were hoping for.
You did something BIG. And you should celebrate that! 🙂
share this post on:
comments
0
leave a comment