Showit is some kind of magical. Almost every single design element you see on my site and in my templates are editable with a simple click, swap, drag, and drop. Yep, even icons. You can upload custom icons into your Showit app and be able to easily change the color of those icons whenever you please with just one click. There are a few steps to make this happen, but I PROMISE they are easy. Watch the tutorial video below to learn how to add free icons to your Showit website for a custom look!
How to Add Free Icons to Your Showit Website
Video Notes:
0:03 – Adding icons to your website is a great way to add visual interest AND increase conversions! Icons help to visually break up large chunks of copy. They are a great way to add visual interest without using images. Images are great, but icons allow you to diversify your visual graphics to keep your visitors engaged!
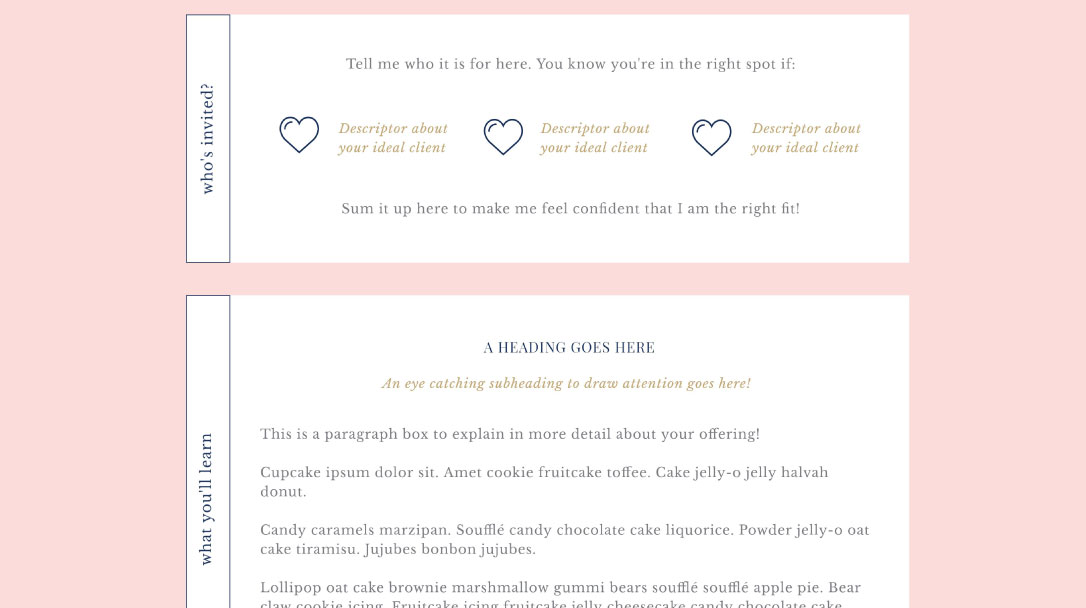
1:19 – Examples of how icons can help break up text including how I leverage these little design heroes to convey copy on the Sales Page Showit Template available in the shop!

1:55 – How to add free icons to your Showit Website for a custom look even if you aren’t a graphic designer! If you are a designer, you can absolutely whip up your own icons in your design software of choice like Illustrator. Save them as an SVG and then follow part two of this tutorial to get them editable in Showit!
If you’re not graphic design-savvy, not to worry! I’ve got an easy peasy DIY and FREE method to show you how you can get some fun and fancy icons on your Showit site right here!
2:30 – First, head to my fave source for free vector-based icons: Flaticon. There are plenty of free icons for you to choose from. I pay a small monthly fee to be a part of their monthly program so I can have full access to the premium icon library without attribution. If you use the free account, you need to make sure you give credit on your website!
3:30 – One you get signed up with Flaticon, search for the type of icon you want to use. Make sure you look for single color icons for this little tutorial. You can use multi-colored icons and download them to upload to your Showit media library, but this tutorial is really about helping you create Custom Icons in Showit so you can easily edit the icon color with a quick click inside your Showit editor. You can only do this with single-colored icons.
4:15 – Click the green SVG button of the icon you want to use in Showit. Now we need to get the source code for the SVG. Don’t freak! This is easy! Promise.
4:38 – Next, head to SVGOMG. What this tool does is help you reduce your SVG file for web use and also get the source code so you can pop that into your Showit account. Find the icon you just downloaded and then drag and drop it into SVGOMG. Don’t worry about the settings on the Image side. They are auto-set to do what needs to be done to the SVG file. Toggle over to “Markup” in the top left corner. This is the code you need to pull for Showit.
5:30 – Select the full code and copy it. Now hop in the backend of your Showit app and find the canvas you want to input your custom icon into. At the bottom center of your Showit editor, click the center icon (looks like an empty rectangle with a blue plus sign). Select icon.
5:55 – The default happy face icon will appear on your Showit canvas. Showit has a select few icons already in the editor, but this tutorial gives you full freedom to add most any icon you want AND be able to easily change the icon color when you want.
6:47 – Click on the Showit “Icon Settings” in the Right Hand Menu. Click the checkbox that says “Custom Icon.” A text box will appear and that is where you’ll paste in your SVG code from SVGOMG.
*Showit has a character limit for how long SVG code can be. The simpler your icon design, the better chance you’ll have to be able to upload your custom font this way. Keep that in mind when choosing icons from Flaticon! If your icon is too big, you can upload it into your media files and add it as an image to your canvas. Or just go pick a simpler icon if you want the ability to click and swap the color in the future!
8:20 – Now that your code is pasted in, you’ll see a color box appear just underneath that input box. Click it and choose whatever color you want your SVG to be! Wanna use the same icon and have it be a different color? Just copy the element on the left-hand side under the canvas you are working on and paste it somewhere. You can edit the pasted SVG’s color. That’s how I have a bunch of different color icons floating around here!
10:06 – If you’re wondering how you can figure out if your website is converting with the design that you have going on, download your free guide: The Fast & Free Way to Figure Out if Your Website Converts to see how the pros visually analyze their web pages to optimize them for conversion using heat-mapping. It is such a fun and free tool!

Happy decorating with icons, fellow showiteer!


Thank you SO MUCH! I am working with a template and I wanted stars for my testimonials and not hearts and couldn’t figure out who Showit wouldn’t have a star for selection!
You’re so welcome, Nicole! 🙂 Happy Editing!